Tag: Ableton Live
-
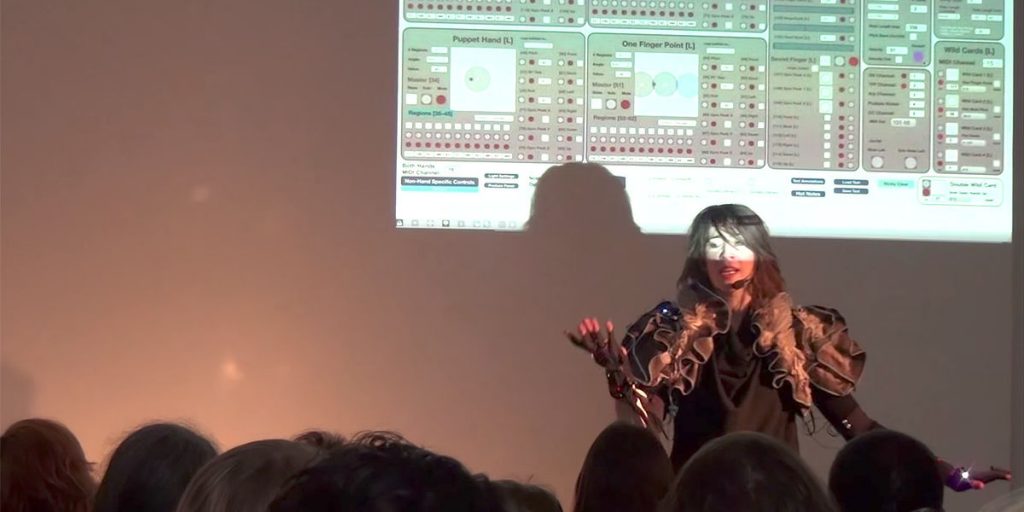
Collabs & Imogen Heap with the Gloves
It’s been rather quiet on my side. Mainly because I hardly had time to make music apart from two collaborations, with Dustmotes and Subfilter. Both are still in progress. I’m currently working on my project…
·
-

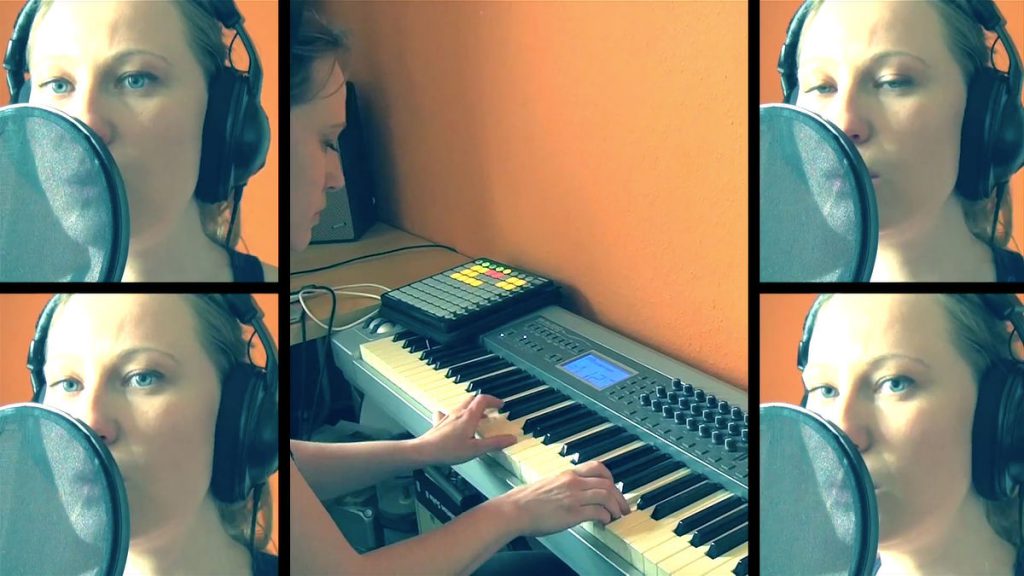
Stock-taking
I’m sitting on my couch, listening to the state of the songs I have so far. This is the second attempt at writing a catch up post, but the last was swallowed by WordPress for…
-

Sicily, oh Sicily
2 weeks since I came back from the Sicily tour. How quickly time flies by. I had to work a lot of hours doing tech support to make up for the time away. I’m also…
-

Opening for Imogen Heap
I knew for a while there was the chance I might get to support Imogen Heap at her Berlin gig, but the date drew nearer and nearer and nothing happened. Then suddenly on Monday I got…
-
Live life live
Really been slacking off with the blog writing business. So this might be a long one. The gig at Schokoladen went okay. I was pretty nervous, still got a lot of stage fright which will…
-
I don’t like Mondays… and computers
Been busy trying to rearrange some of my new songs so I can play them live. I wasn’t expecting it to take soooo long, but it does. Ran into some problems today when I realised…
-
Berlin sounds
I must admit I’ve been slacking off with the blog writing recently. Then again writing a blog every night takes up quite some time and I’m trying to make up for the lost time from…
-
Blooms & Starrrs
More preparations for the gig with Bobby Starrr. Built some more ‘instruments’ so I can play stuff live on my Mac/keyboard and won’t only trigger everything. That’d be a bit boring. Made nice broken beats…
-
Off the couch
No news in the last couple of days because the cold had me lying on the couch. Much better now though. My nose still looks a bit like Rudolph the Reindeer’s and I’ve got a…
-
Chaos & Order
That’s what today has been like and it’s also the song I’ve worked on. I said I would try a kind of R’n’B- or HipHop-style, but I can’t really say that it sounds like that…
Have a Listen
Sign Up
Upcoming Shows
No shows booked at the moment.
Categories
- Aural Explorer
- Bloom's Sound Collective
- Bread Crumbs
- Collabs
- Epiphanies
- Gigography
- In the Studio
- Minutia
- News
- Ramblings
Tags
Ableton Live album array mbira beats Berlin brass concert ep field recording gig live lyrics Mingle Minutia mp3 music new song Patchwork EP piano recording studio release remix remixer song song writing studio recording vblog video vocals youtube